September Skincare treats: Upto 30% Off | Shop for Rs. 1299+ & get Freebies | Extra 5% Off on Prepaid Orders
Cart
Your cart is empty
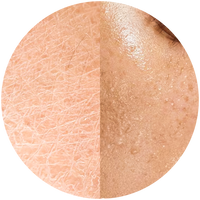
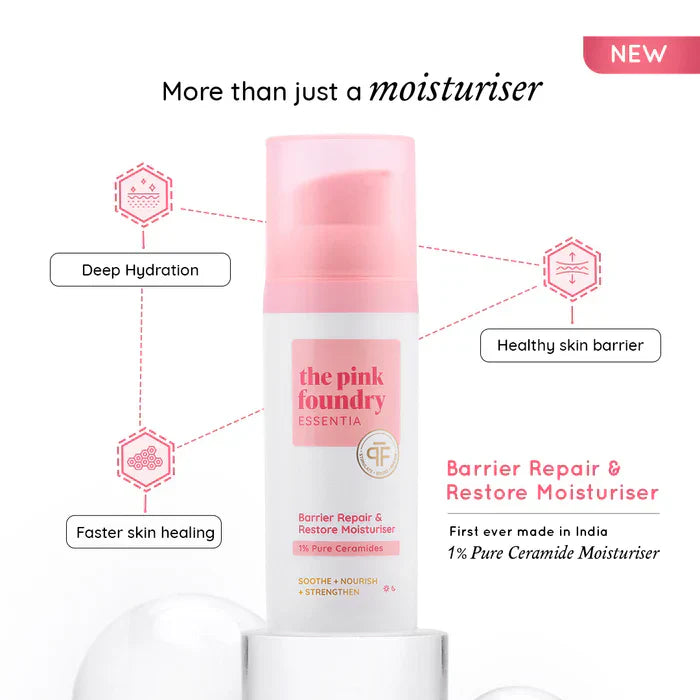
Best Ceramide Moisturisers for Sensitive Skin: Expert Tips to Layer and Repair Your Skin Barrier
How to Use Vitamin C Serum in Your Skincare Routine
Benefits of Vitamin C Serum for Skin: Why It’s a Skincare Essential
Monsoon Essentials by Concern & Skin Type
5 Monsoon Skincare Tips To Keep Your Skin Healthy This Rainy Season
Vitamin C vs Niacinamide: Which Serum to Choose This Monsoon?
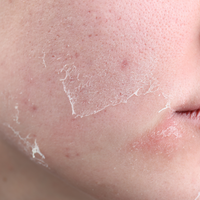
Does Salicylic Acid Cause Purging? What You Need to Know
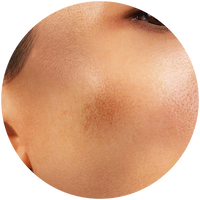
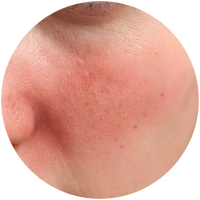
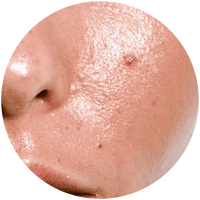
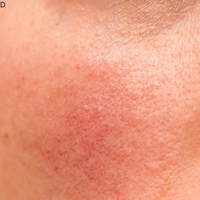
Strawberry Nose: Causes, Treatments, and Prevention Tips
Can Hyaluronic Acid Be Used Daily? What You Need to Know
Steps to Apply Sunscreen: A Beginner’s Skincare Checklist
Skin Care Products | Vitamin C Serum | Face Serum | Face Moisturiser | Acne Spot Corrector | Acne Gel Moisturiser | Hyperpigmentation Serum | Dark Spot Serum | Niacinamide Face Serum | SPF 30 Tinted Sunscreen | Face Cleanser | Sunscreen | Dewy Sunscreen | Salicylic Acid Serum